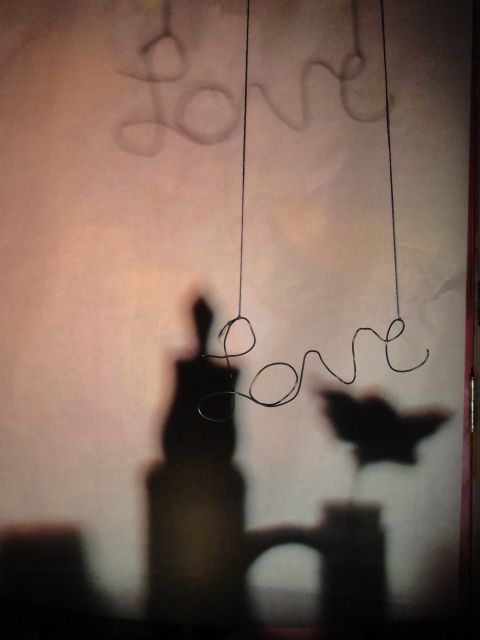
Friday, May 17, 2013

Light Drawing

This project was a fun one. We had to you use laser pointers and glow sticks to make an image in the dark. This project took a few times to get right because you had to figure out the amount of light and time you need to use the glow stick. If you used it too long it would blind the entire picture out. To make the hair we had to use a stencil that we cut out and then shine a phone behind it. I thought this project was a good experience because it used a lot of trial and error.

Tuesday, May 14, 2013

Landscape Painting


This project was really fun! We had to print off pictures from the Internet to use as our references. We then had to take these pictures and paint a picture using them! Our pictures were of landscapes. I chose to do a beach scene with a sunset and palm trees. I thought this project was fun because we got to experience with many different colors and discover all the colors we could make only using three primary colors. The three primary colors are red, yellow, and blue! We could also use black and white!

Friday, April 26, 2013

Gradient Flowers

This was a picture that we had to make on adobe illustrator. First we started with a star and then we used the bloat tool to make the flowers. We had to use the gradient tool to make the flower multi-colored. As you can tell, my flower is purple, red, and pink. To get more pedals you layer two flowers on top of each other. Lastly you added a circle to the middle just like a regular flower. I thought this project was fun because we got to learn how to make really pretty flowers on the computer!

Tuesday, April 23, 2013

Clay Rattles


We made clay rattles. To do this we had make a clay sculpture. We then had to add clays balls to make it rattle.

Zentangles


This was a project called zentangles. It was just designs that we had to draw in our sketch book and then we had to paint them on the walls of the courtyard.

Forced Perspective

During this project, we really had to find the perfect spot to do this. The person had to be in the right ratio and the photographer had to be at the right angle. I thought that is was really fun because we got to explore different things on our own and discover them as you took more pictures. For example, if the person was in front of the object then the photographer had to be lower then the person. If the person was behind then object then the photographer had to be higher than the object. I think that I learned a lot more about forced perspective than I thought I did.

Tuesday, March 26, 2013

Angry Pancakes

For this project, we had to take pancakes and then add in an angry mouth.  First we put a picture into photoshop and used a took to make a hole between the two pancakes.  We then took the mouth and inserted it into the pancakes.  Lastly we made the mouth fit into the pancakes and not look weird!

Midterm...Half Way There!

This was my most successful project so far because I was really able to make it into multiple colors.  This was because I choose a picture with lots of texture to go back and cut out.  I also enjoyed doing this project because I liked mixing the colors and finding out what looked good together.  It was a fun way to learn how to do another type of multiple layered project!

So far this was my favorite project because I feel that it actually looks like me.  It also taught me how to make a picture shaded where as I did not know how to do that before.  I enjoyed working on this project the most to because it was time consuming but I could not wait to see the final product. This project showed me that art can take longer than just a few minutes. I worked on this for about three days during class.

Peacock Print

During this project we had to first pick an animal that we liked.  The animal needed to have lots of texture on it so that the print would turn out with different spots.  Next we had to draw the animal on a piece of paper and then transfer it onto the piece of rubber which would be used as our stamps.  To carve out the picture on the rubber we used a special kind of knife kind of like a shovel.  Lastly, we took the ink, rolled it onto the stamp, and press it onto the paper.  As I did above, you can then cut more out of the stamp and roll a different color and stamp it onto the same picture.  With this you can get more than one color onto your print and it will be colorful!

Tuesday, March 12, 2013

Spray Paint Self Portrait


During this unit, we had to create a layered self portrait using spray paint. The first thing to do was to project our picture we made on the computer onto a white piece of paper. We then cut out each color and layed them onto our frame. One by one we spray painted the the stencil a different color as you can see above.  Lastly, we had to paint the frame and I decided to put a boarder around the portrait to take up some of the blank space.  Overall, I think this was a really fun project because the outcome actually looked like me and I was happy with the results. 


Pencil Self Portrait

This is a self portrait that I had to draw of myself. Mine is not sone yet so I still have to make some alterations. To start with we had to measure out how wide and how long our face was.  Then as you can see, I had to measure where all the features of my face would be. For example, the eyes are right in the middle of your face and the end of the nose is half way between the eyes and the end of the chin. The next part was to shade the darker and the lighter parts of the face and show where highlights would be in the hair.  If I ever did this project again, I would try to make my portrait look more like me. Personally, I don't think that this looks much like me, but it was my first time drawing a self portrait.

Wednesday, February 20, 2013

Headshot Stencil Reference

For this project...this is just the reference that we are going to use. I used pink because I liked this color most out of the choices we had. Eventually we will use this to create stencils and and actually spray paint this onto a big piece of paper.

Shading Drawing

This project was something that was very time consuming. First we had to trace the outline and all the different shaded regions. We then had to put the traced part onto real paper and shade. I think that this project was fun because we had a choice of what we wanted to do. I chose this picture because it is a picture of me and I wanted to see how well I would be able to duplicate it! I feel that I did a really good job with this project and I enjoyed it.

Junk Art

During this art project...I had to create a scene using old pieces of junk. For the love as you can see I used wire and string to hold it. Then we used a fake flower, gum container, masking tape, and lots of other pieces of plastic.  If I were to do this project over again I would not have a specific image in mind. I would just throw a bunch of different pieces on the table, turn on the projector, and then look to see what I could find. I think this project shows people how lots of things can be related to art even if you do not realize it.

Thursday, February 7, 2013

Black and White Flower

For this project we had to reduce the image level. Originally the image was clear and there was very distinct lines. Then we made the image level a 4 to make it look like this. I also had to make the picture in black and white so you can really only see that there is 4 colors in the picture now. For this project, I think that this effect looks really good because it shows the different between the levels. I also think that I accomplished this project good because it looks really good!

Hot Air Balloons

For this project we had to find a picture from something up above and add its shadow.  We then had to add the picture again but without a shadow.  This project was fun to do because I got to decided how high up the balloon was and how big it was.  The balloon in the upper left hand corner is the balloon that is casting the shadow.  The balloon in the bottom right hand corner is the balloon that has no shadow and looks like it is just a simple drawing on plain white paper. If I did this project in the future, I would choose amore interesting object to see how that turned out.  Over all this project was fun and easy!


Monday, February 4, 2013

Rhino on the Beach!

On photoshop, I had to take a rhino in a grassy area and put him in another background.  I chose to but him on the beach because you would never find a rhino on the beach.  First we had to cut out the rhino to remover the original background.  Next we had to choose a new background to put him on and make in the right size so that it looked proportional.  I think that this was a vey cool project to do because I never knew how east this was!  Next time I do this I will use a not thought of background because I think it makes people interesting and focused on what is really there!

Hand Snail

During this project, I had to draw an animal on my hand on paper and then paint it on my hand. I thought this profect was fun because it gave us a new item to make art on. it was harder than I expected because you have to figure out the right colors to use once they dryed and lightened up. Also with drawing on the hand, you had to wait for every layer to dry before putting on another. If this was not done then the colors would smear and not turn out the way you wanted them too. Over all this was a fun project to do and I really enjoyed it! If I was able to do this project over again I would try to challenge myself a little more by choosing a harder animal. I would also do something with more colors to make it more interesting!

Friday, January 25, 2013

Turlte Sleleton!

This is a sketch of a turtle and a hippo head skeleton.  I tried to image what it would look like inside a turtle body and its shell and a hippo head.  Then I took those thoughts and drew what the skeleton inside would look like!